Painting How To
Plums: Step-by-Step Painting Tutorial
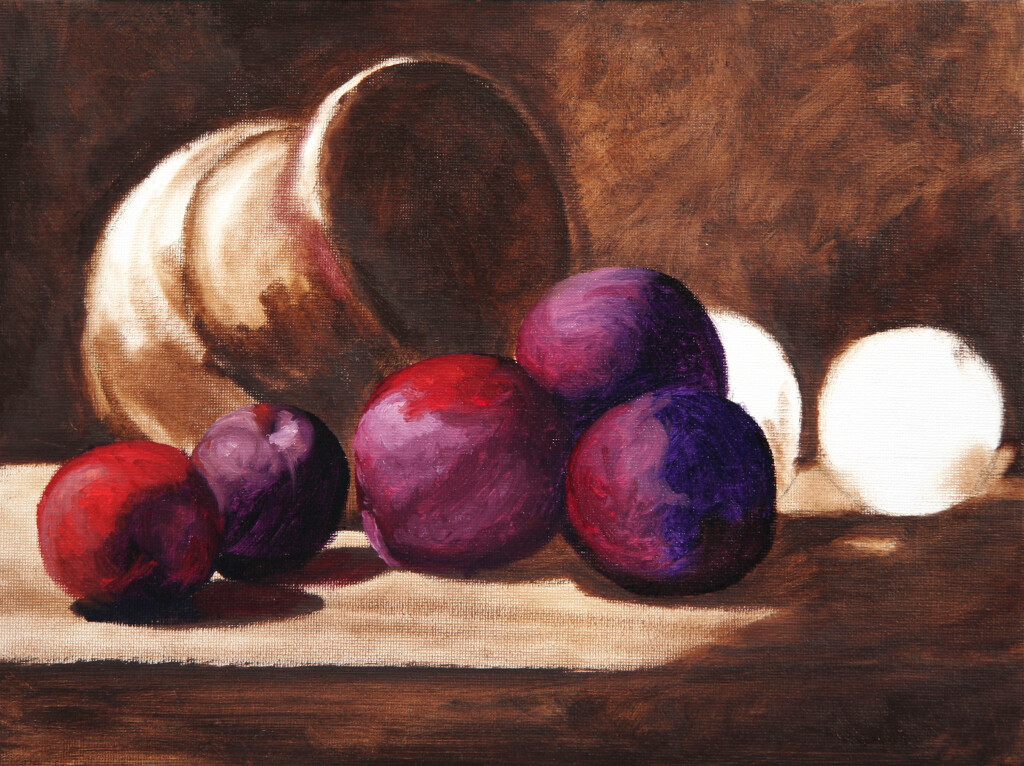
Inspired by the sweetness of plums
This painting tutorial begins on a beautiful summer afternoon when we picked these plums at our friend’s small farm. Upon returning home, the plums on the kitchen counter initially appeared as the simple purple fruit we all recognize. However, when placed in direct sunlight, they emitted a warm glow, and the shadows were bathed in rich, deep bluish purple hues. This captivating beauty compelled me to paint them.
STEP 1: The setup
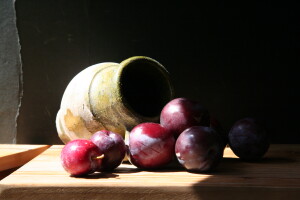
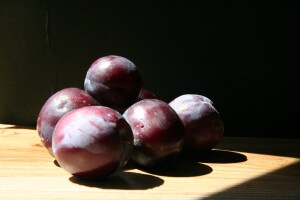
Reference
Painting a still life of fruit or veggies often takes me several days to finish. I’m not interested in painting spoiled fruit. Also, the natural light I use is naturally shifty – it just doesn’t stay still, and it gets dark at night (go figure). Therefore, I often take photographs for reference. Of course, I do keep some real fruit on hand for true color reference.
Goal: Celebration of color
In this painting, my goal is to amplify the plum colors and texture. I place a small, rugged vase with the plums to contrast with their smooth skins. The vase’s green tones help punch up the impact of the plum’s purples and warm colors. The composition is a classic pyramid arrangement, strengthened by the shape of the cast shadow on the right.
STEP 2: Drawing on canvas
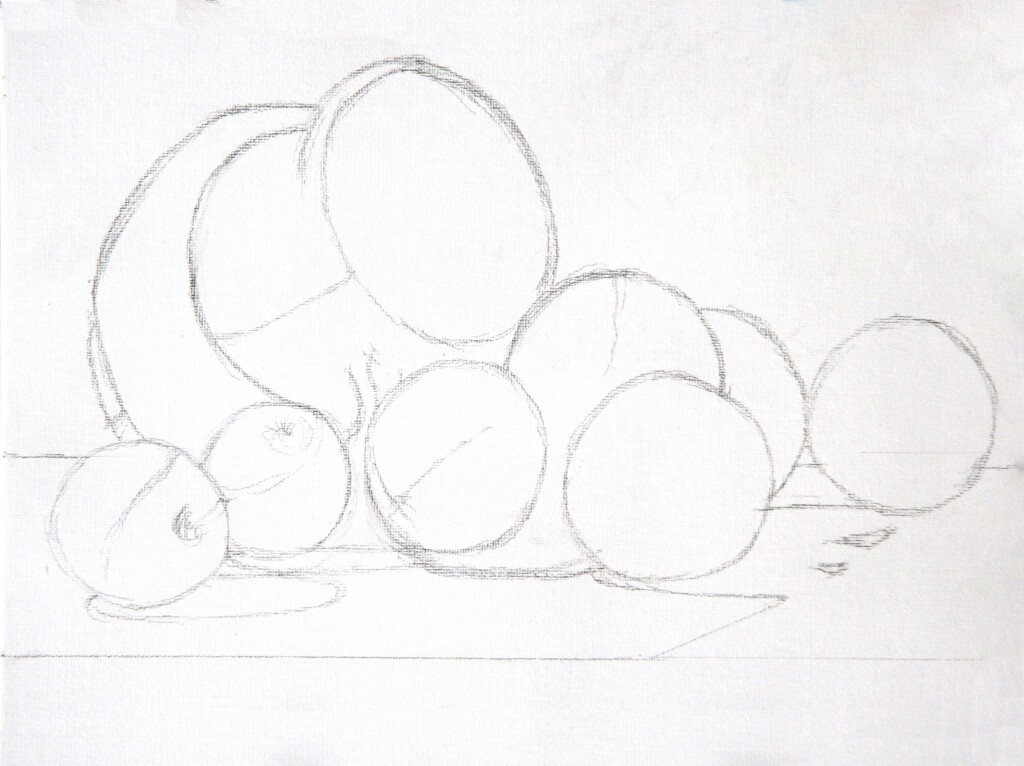
Time to explore
With a 4B graphite pencil, I draw the scene. I scrub the underpainting on with a bristle brush; therefore, the drawing needs to stay in place and not smudge. So the drawing is held in place by spraying it with workable fixative.
Freehand only – no tracing
Although I frequently use photographs as references, I always draw my subject freehand and never trace. I find tracing to be lifeless and doesn’t challenge me enough to truly understand my subject. In contrast, freehand drawing encourages me to explore, modify the composition, and gain a deeper understanding of all its elements and their relationships. I can sense the rhythm of both the placement and orientation of the elements—the directions they lean and how that rhythm creates captivating movement.
STEP 3: Blocking in
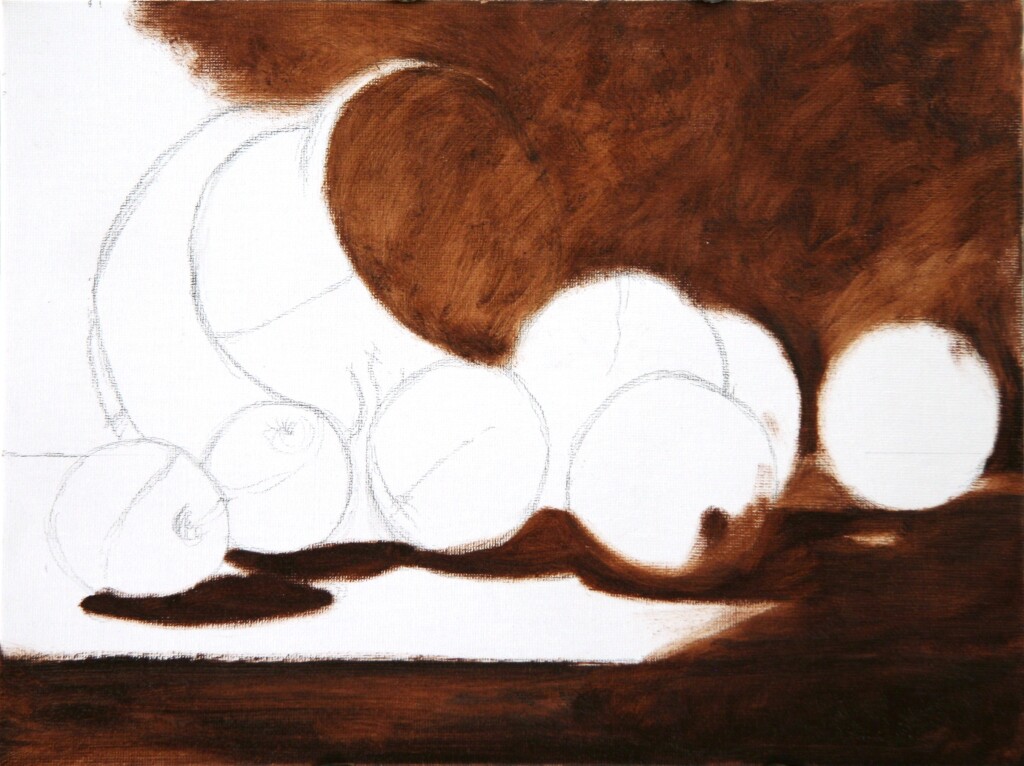
Focus on the large dark shapes
Burnt umber, cooled with a touch of viridian, is scrubbed on to the canvas with hog hair bristle brushes, continuing the “drawing” stage by adding form and shadow. I also indicate the darkest dark areas. However, until the final stages of a painting, I avoid painting the extreme dark and light values.
STEP 4: Block-in
Transparent colors for depth
Dark areas – background and shadows – have been defined. The plum shapes are left white. The painting’s focus is on the spectacular colors of the plums. I paint the fruit primarily with mixtures or transparent paints – anthraquinone red, alizarin crimson, ultramarine blue. The transparent nature of these colors is critical for those colors to retain the depth and saturation I desire in the shadows and darker skin of the plums. Therefore, I don’t want the underpainting’s burnt umber to affect it. The blocking in continues…
STEP 5: Block-in complete
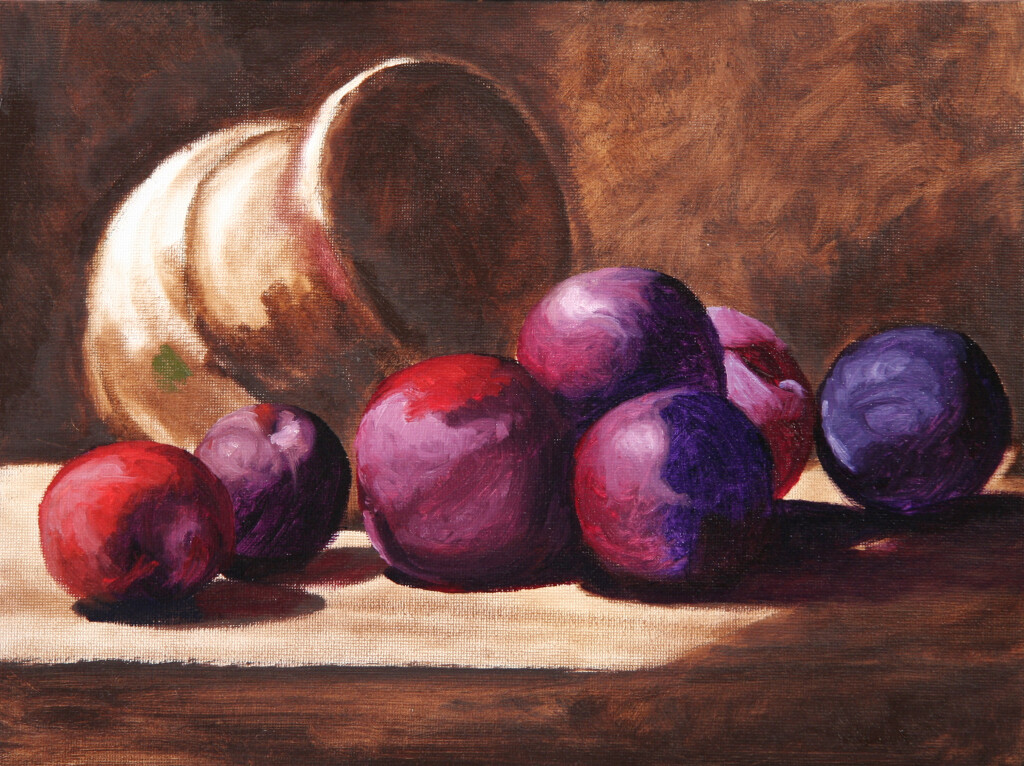
Block-in finished, now what?
All elements are now in place. The darkest spaces are established, the lightest areas of the vase and table are indicated, and there is a hint of where highlights will be painted later.
Plums start to take shape
All elements are now in place. The darkest spaces are established, the lightest areas of the vase and table are indicated, and there is a hint of where highlights will be painted later.
Plums start to take shape.
I begin working on the waxy areas of the skin with mixtures of anthraquinone red and ultramarine blue with white, creating soft pinks, lavenders, and blues. In addition to lightening the color, adding white colors reduces the vibrancy and cools the color. The result of the mix is perfect for the effect of diffused reflected light and again, helps intensify the brilliance of the stronger warm red and oranges and the richness of the cool highly saturated blues and purples.
The light emitted from a translucent material, like the plum’s skin, is far more vibrant than reflected light. Think stained glass windows. To create that effect, I use hot, cadmium red on the plums where the light is traveling through the plum’s skin. Ultimately, these colors will be lightly blended at the edges.
STEP 6: Close to the Finish

Plums get their color
Because this painting is about the amazing colors of the plums (purple, red, orange), I want to enhance them by adding a contrasting color (green to yellow-green). These colors are on opposite sides of the color wheel. As a result, the combination creates a nice bit of interest and balance.
The Green Vase
The vase’s base green color is a mixture of ivory black and Indian yellow, making a lovely olive green. The lightness and darkness of the green is modulated with white. To preserve the rugged feeling of the vase and to complement the highly saturated plum colors, the greens are muted with transparent red iron oxide.
STEP 7: Finish – my favorite part
Details
Refining edges and shadows; adding subtle reflected light; and adding highlights is always my favorite stage.
Edges and shadows
Hard edges separate shapes while soft edges connect them. To anchor the plums to the table and unite them with each other, I soften the edges, concentrating on the central group – opening of the vase and cast shadows on the tabletop.
Mixtures of ultramarine blue and alizarin crimson give a cool, rich, and deep transparent background. The shadow cast onto the table, burnt umber added to the background color, falls subtly over the front edge of the table.
Reflected light
I love reflected light. You can see it most clearly in the reflection from the table in the center plum and the plum to the right of it. Reflected light helps give the illusion of roundness to the plums.
Highlights
I use Spectral (hard) and diffused (soft) highlights in Plums .
Spectral highlights have hard, sharp edges, making a surface appear hard and reflective. I used spectral highlights exclusively in the edges of the vase, contrasting the rough surface of the vase with the smooth skins of the plums.
Diffused highlights have soft edges. Depending on how hard or soft the edge is, determine how hard, smooth, or textured the surface will appear. Although plums are smooth-skinned fruit, their skins reflect a soft-edged light in the same way a balloon might.
Finished?
At some point, I have to say it is done. I am never sure when that time has come. Most likely, I will return to Plums a week or so and see if it wants a little more work.
Materials
Canvas panel
(acrylic double primed)
Paints (M Graham)
In the order arranged on my palette
Anthraquinone Red
Alizarin Crimson
Cadmium Red
Cadmium Yellow Deep
Cadmium Yellow
Titanium White
Indian Yellow
Viridian
Ultramarine Blue
Transparent Red Iron Oxide
Ivory Blue
Varnish (for restoring color brilliance)
Blair Retouch Varnish
Medium
M Graham Walnut Alkyd Medium
Gamlin Aylkyd Gel Medium
Brushes
Rosemary and Co. Brushes
Evergreen Synthetic
Hogs hair bristle
Other Tools
4B Graphite Pencil
Kneaded Eraser
Metal ruler straight edge
Reducing Glass
Palette Knife (only for mixing)
Other Materials
Paper Towels
Turpenoid Natural
Master’s Brush Cleaner
FAVORITE BOOKS
Great instruction and wonderful inspiration for all level.
 Alla Prima II Everything I Know about Painting by Richard Schmid
This is my painting artist’s Bible. Icon Richard Schmid shares his wisdom and technical savvy, which came from a classical education and a lifetime of painting and teaching. The supreme alla prima master, Richard gracefully leads his reader through the subtleties of painting theory and technique with refreshing directness and unmatched technical authority. Richard's insights and lessons are not just valuable for alla prima painting, but for all styles.
Learn More
 Alla Prima II Companion: Richard Schmid's Materials, Tools and Techniques
Richard Schmid's Materials, Tools and Techniques - By Katie Swatland. The path to creating great works of art begins with knowing the capabilities of your materials and tools.Contained within the pages of this book are detailed descriptions of the processes that go into the creation of a painting.
Learn More
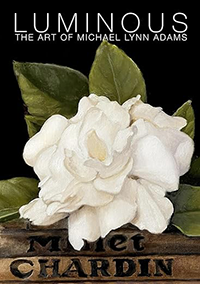 Luminous: The Art of Michael Lynn Adams
Painter Michael Lynn Adams explores how his childhood nurtured his artistic curiosity and shares methods for creating luminous works, illustrated with over 95 paintings and drawings.
Learn More
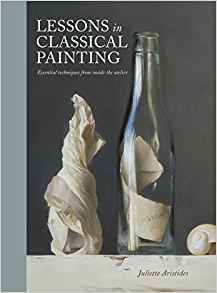 Lessons in Classical Painting: Essential Techniques from Inside the Atelier
 by Juliette Aristides
Lessons in Classical Painting presents aspiring artists with the fundamental skills and tools needed to master painting in the atelier style. With more than 25 years of experience in ateliers and as an art instructor, Aristides pairs personal examples and insights with theory, assignments, and demonstrations for readers, discussions of technical issues, and inspirational quotes.
Learn More
![]() The Art of Still Life
The Art of Still Life by Todd M. Casey
The Art of Still Life offers a comprehensive, contemporary approach to the subject that instructs artists on the foundation basics and advanced techniques they need for successful drawing and painting. In addition to Casey's stunning paintings, the work of over fifty past and present masters is included, so that the book is both a hardworking how-to manual and a visual treasure trove of some of the finest still life art throughout history and today.
Learn More
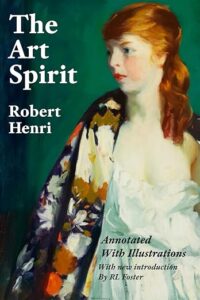 The Art Spirit by Robert Henri
"Art when really understood is the province of every human being." So begins The Art Spirit, the collected words, teachings, and wisdom of innovative artist and beloved teacher Robert Henri. Henri, who painted in the Realist style and was a founding member of the Ashcan School, was known for his belief in interactive nature of creativity and inspiration, and the enduring power of art.
Learn More
What brand of Anthracqudone Red due you prefer?
Your paintings are amazing!
I use M Graham oil paints pretty much exclusively.